
Why run Ubuntu on the EQi12?
The Beelink EQi12 (Core i3-1215U, 16 GB RAM, 1 TB NVMe) is one of the most common mini PCs people buy with a Linux home server in mind. The hardware is well supported: Intel UHD Graphics for the i3-1215U works with the standard i915 driver, the dual Realtek RTL8111/8168 gigabit NICs load out of the box, and the NVMe is detected as a standard block device.
This guide is the walkthrough we actually followed on our tested unit in July 2026, with every step photographed and the ISO verified against the official SHA-256 before writing. If you are choosing between Ubuntu and Windows for this machine, the Windows home server build guide documents the measured trade-offs (12 W idle at the wall, Docker Desktop on WSL2); this guide covers the Linux side.
What you need
| Item | Detail used in this test |
|---|---|
| EQi12 firmware | AMI Aptio, BIOS EQI12D405 (see the BIOS guide) |
| ISO | ubuntu-26.04-desktop-amd64.iso, 6.5 GB, downloaded from releases.ubuntu.com |
| USB writer | Rufus 4.15 Portable (signature verified) |
| USB stick | 64 GB (58.6 GiB usable) |
| Verified SHA-256 | 487f87faaf547ea30e0aba4d5b53346292571256b25333a978db1692bcee9dd2 |
1. Verify the ISO before you write it
Do not skip this step. A corrupted ISO fails at random points during install. We checked the official SHA-256 from SHA256SUMS against our download and both values matched exactly:
ISO          : 487f87faaf547ea30e0aba4d5b53346292571256b25333a978db1692bcee9dd2
Official     : 487f87faaf547ea30e0aba4d5b53346292571256b25333a978db1692bcee9dd2
ISOHashMatch : True
2. Write the USB with Rufus
Rufus 4.15 Portable was used, with its embedded signature check reporting Valid. After writing, we verified the key boot files on the stick — .disk/info, EFI/BOOT/BOOTX64.EFI, boot/grub/grub.cfg, casper/vmlinuz, casper/initrd and both squashfs images — and every hash matched. The final volume was labelled UBUNTU 26_0 on FAT32.
3. Boot from the USB (UEFI)
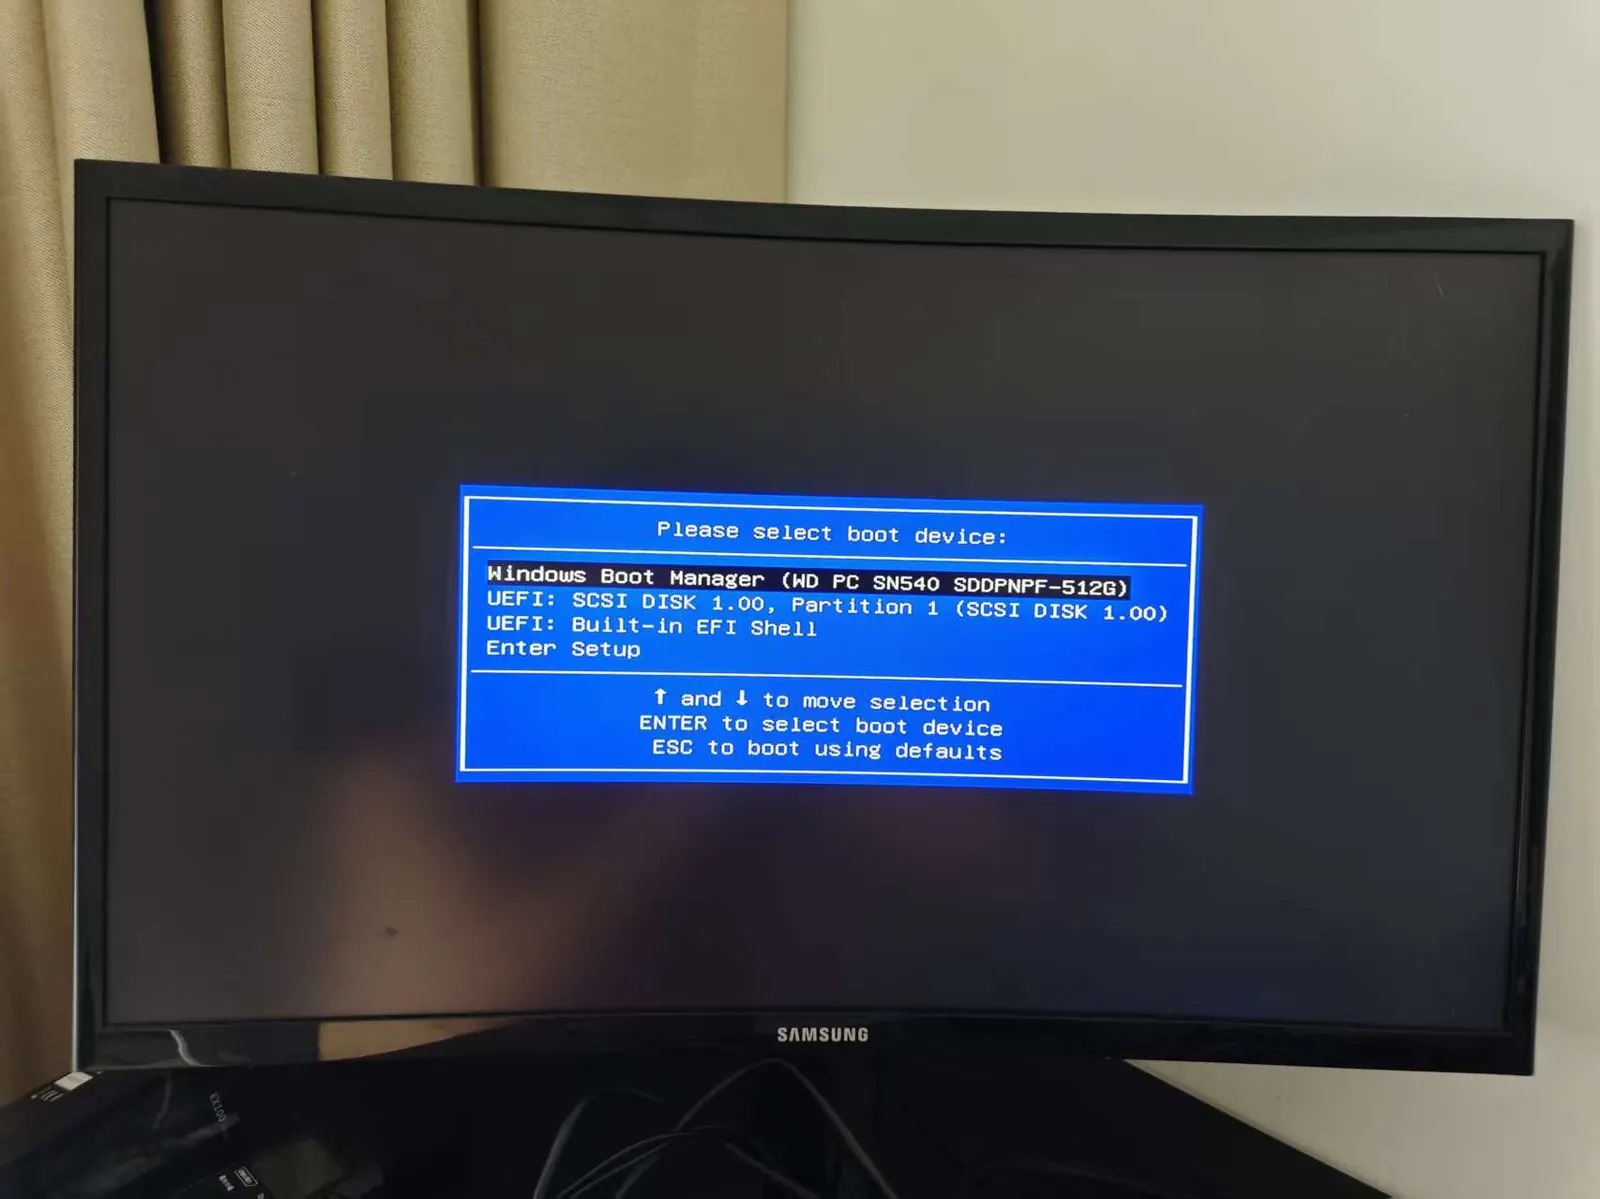
With the stick plugged in, power on and press Del to enter the AMI Aptio BIOS, then set the USB drive as the first boot option. On our unit the UEFI boot menu listed the USB device correctly:
4. Installer steps
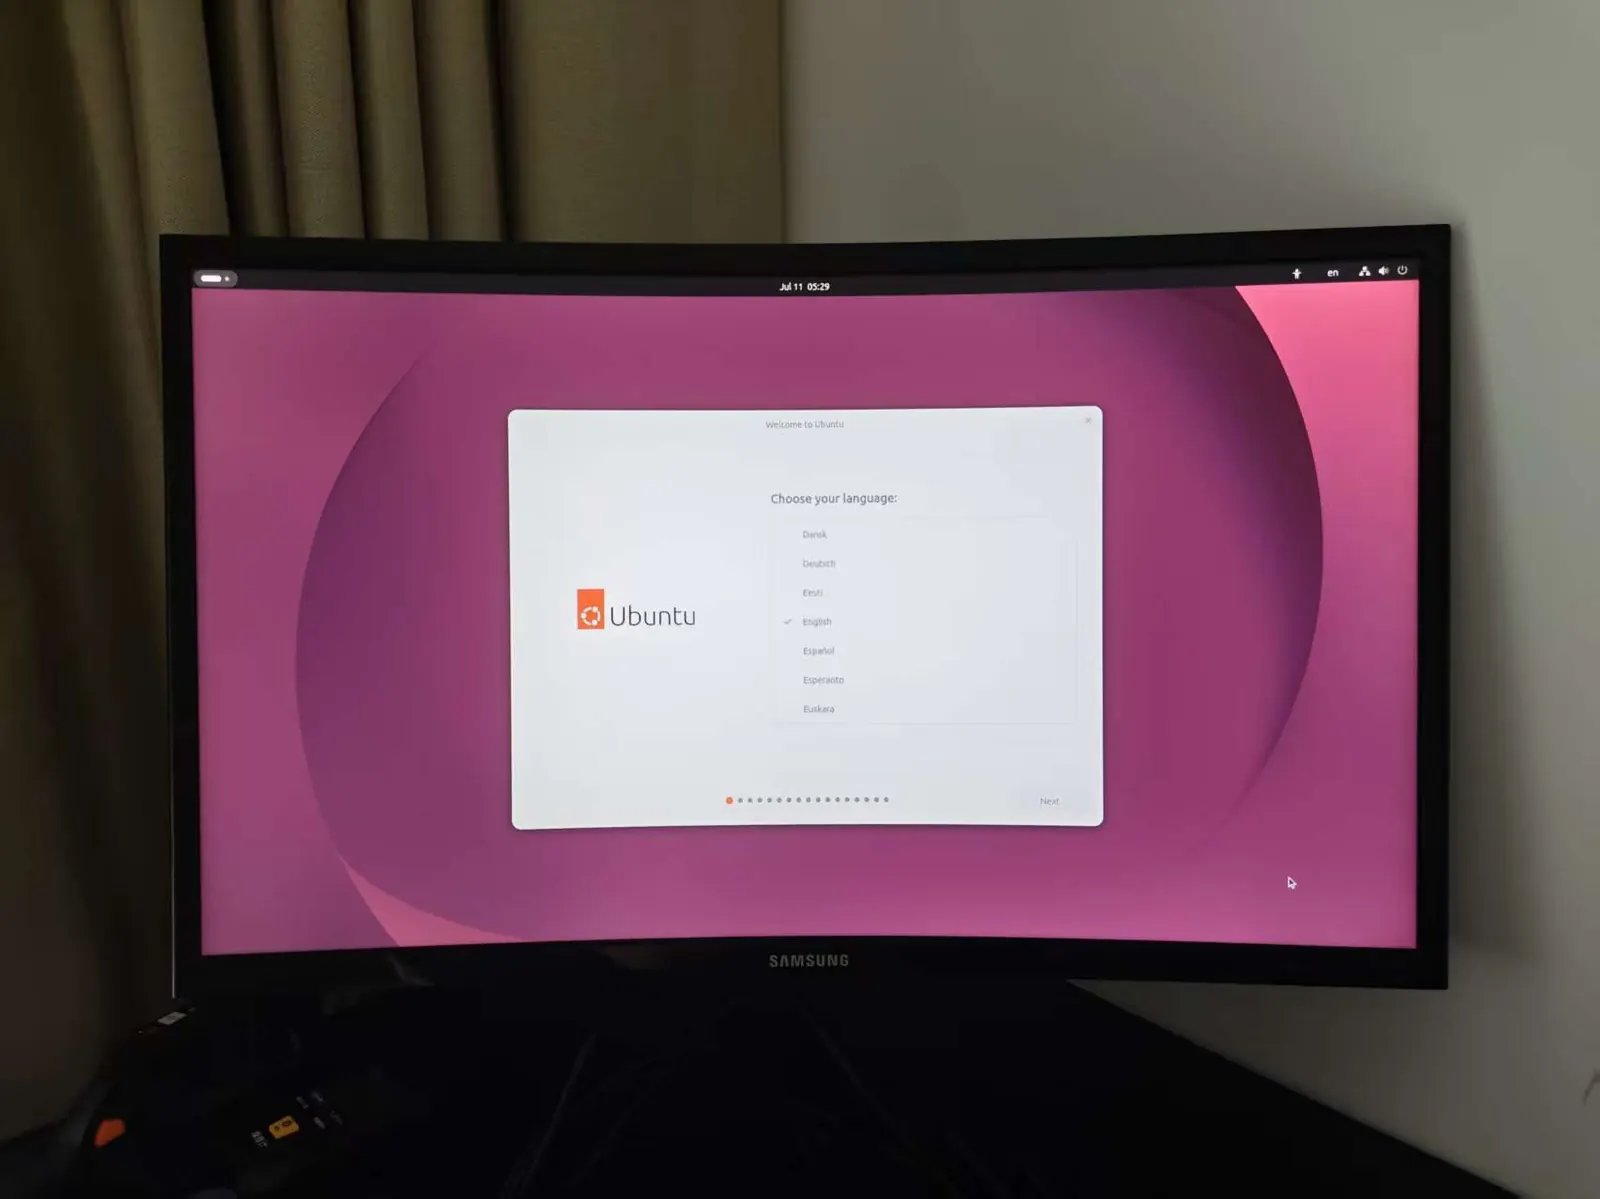
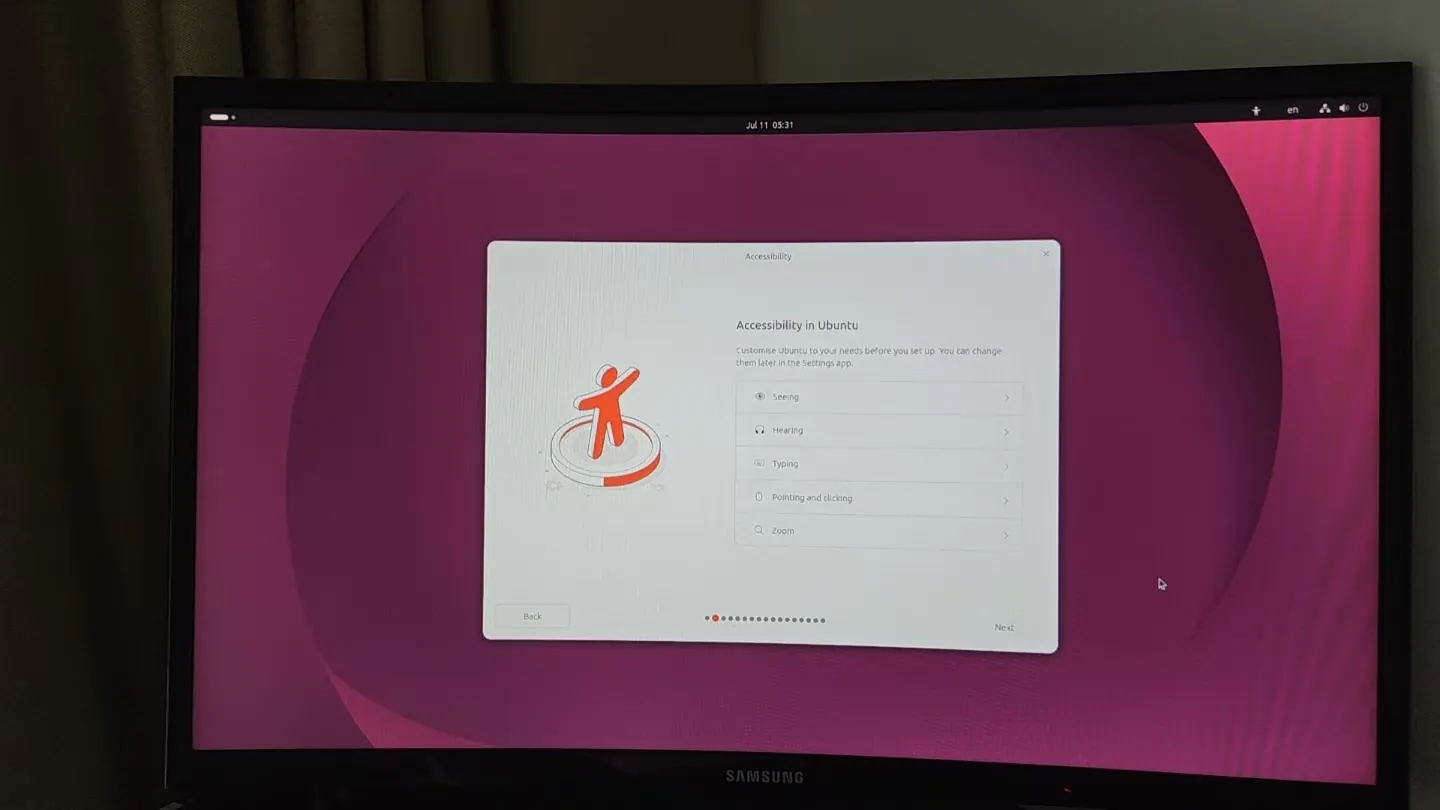
The Ubuntu 26.04 installer runs through the usual flow. We photographed three checkpoints that matter on mini PCs:
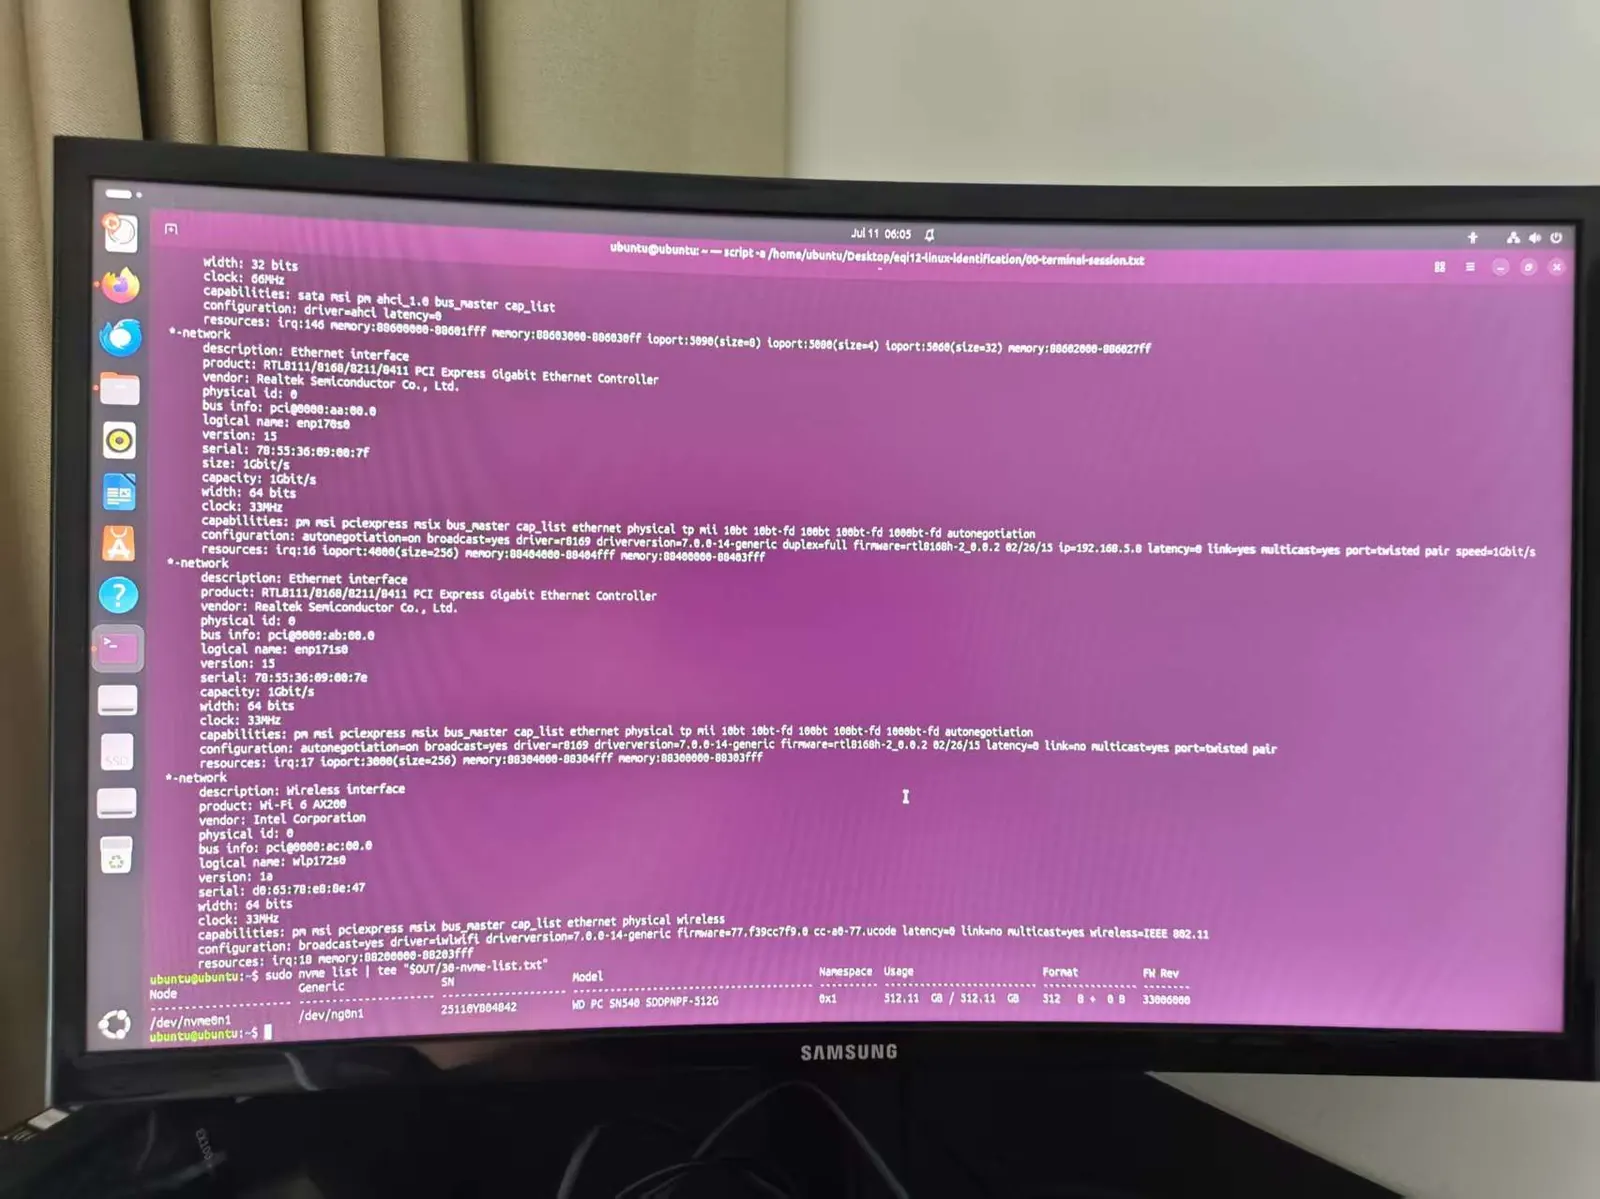
5. Wired network detected
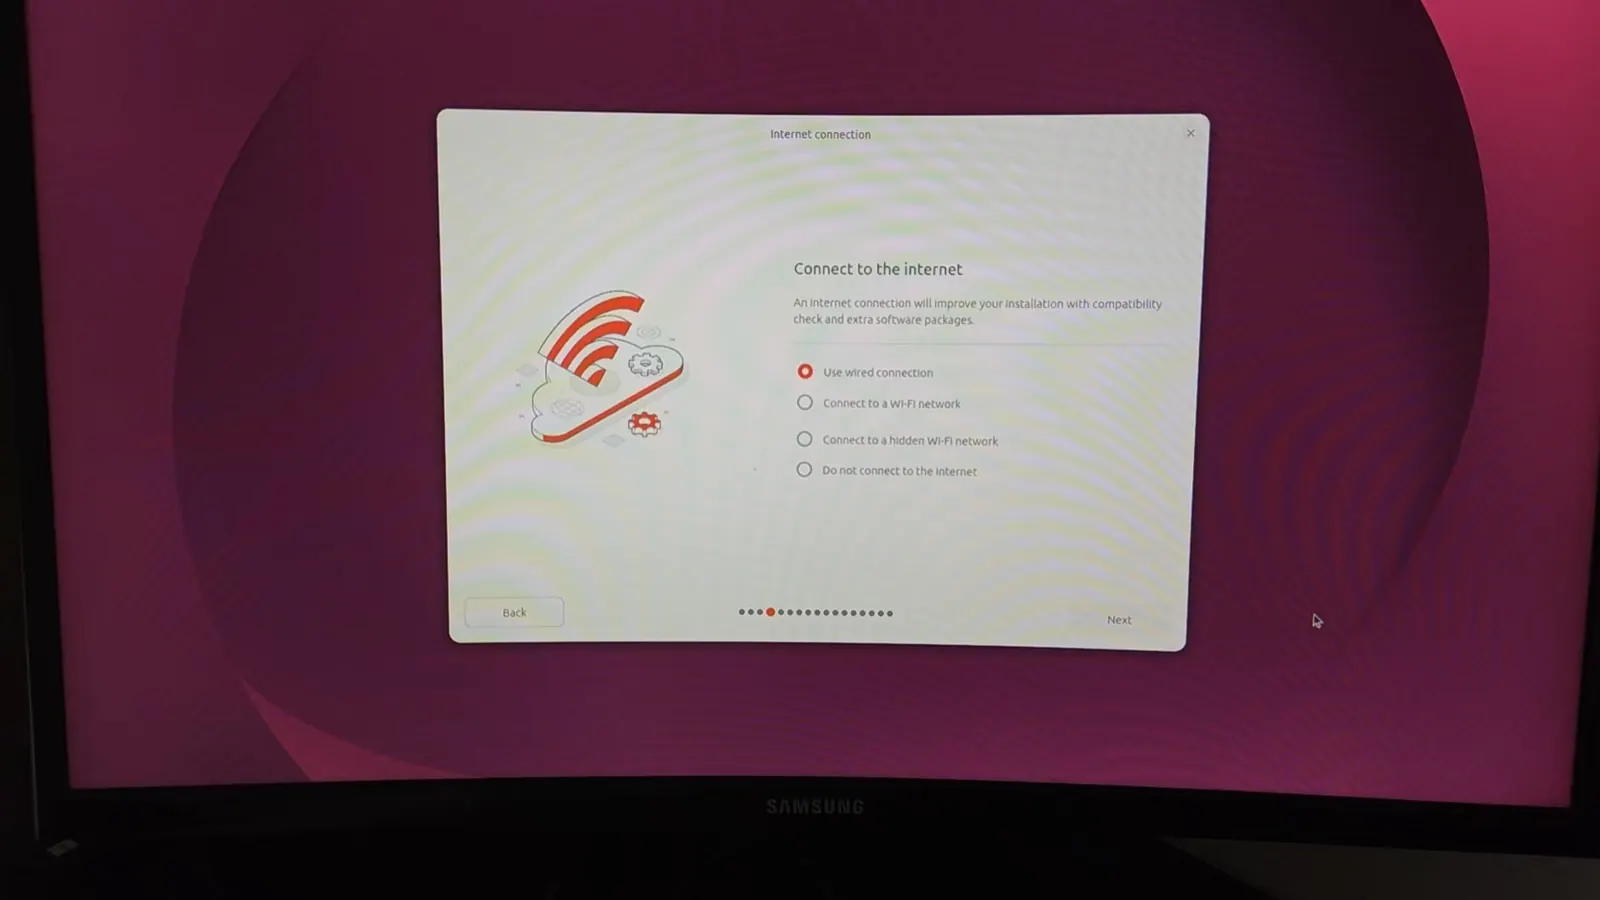
The dual gigabit NICs were picked up automatically during the live session — no driver stage was needed:
If you later hit the well-known “suspicious firmware” Realtek r8169 warnings or link drops, the Realtek R8169 driver troubleshooting guide has the diagnostics from this same unit.
6. Live desktop boots clean
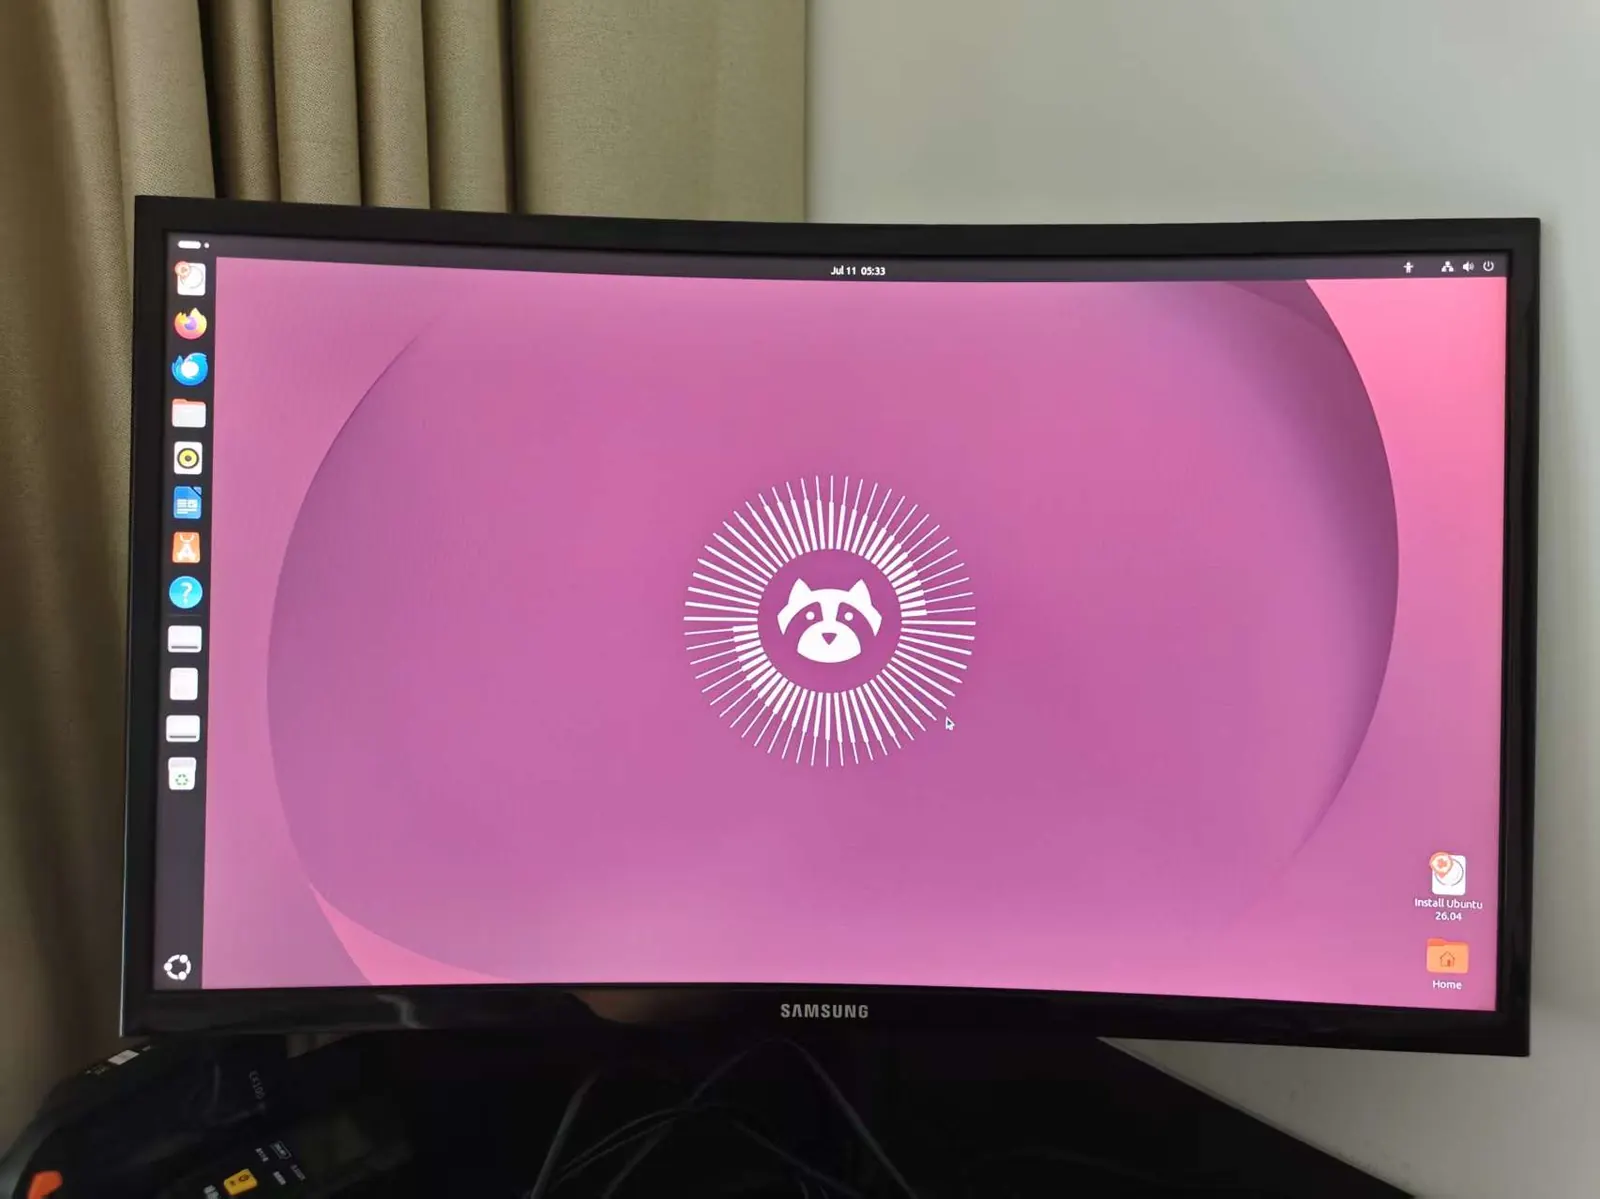
7. Verify hardware detection in a terminal
Before installing, confirm the machine sees what you expect. On our unit the terminal reported the network interface and the NVMe block device:
A real quirk we hit: paste error in the terminal
Pasting multi-line commands into the live session’s terminal produced a control-character error (^C style abort) on our first attempt:
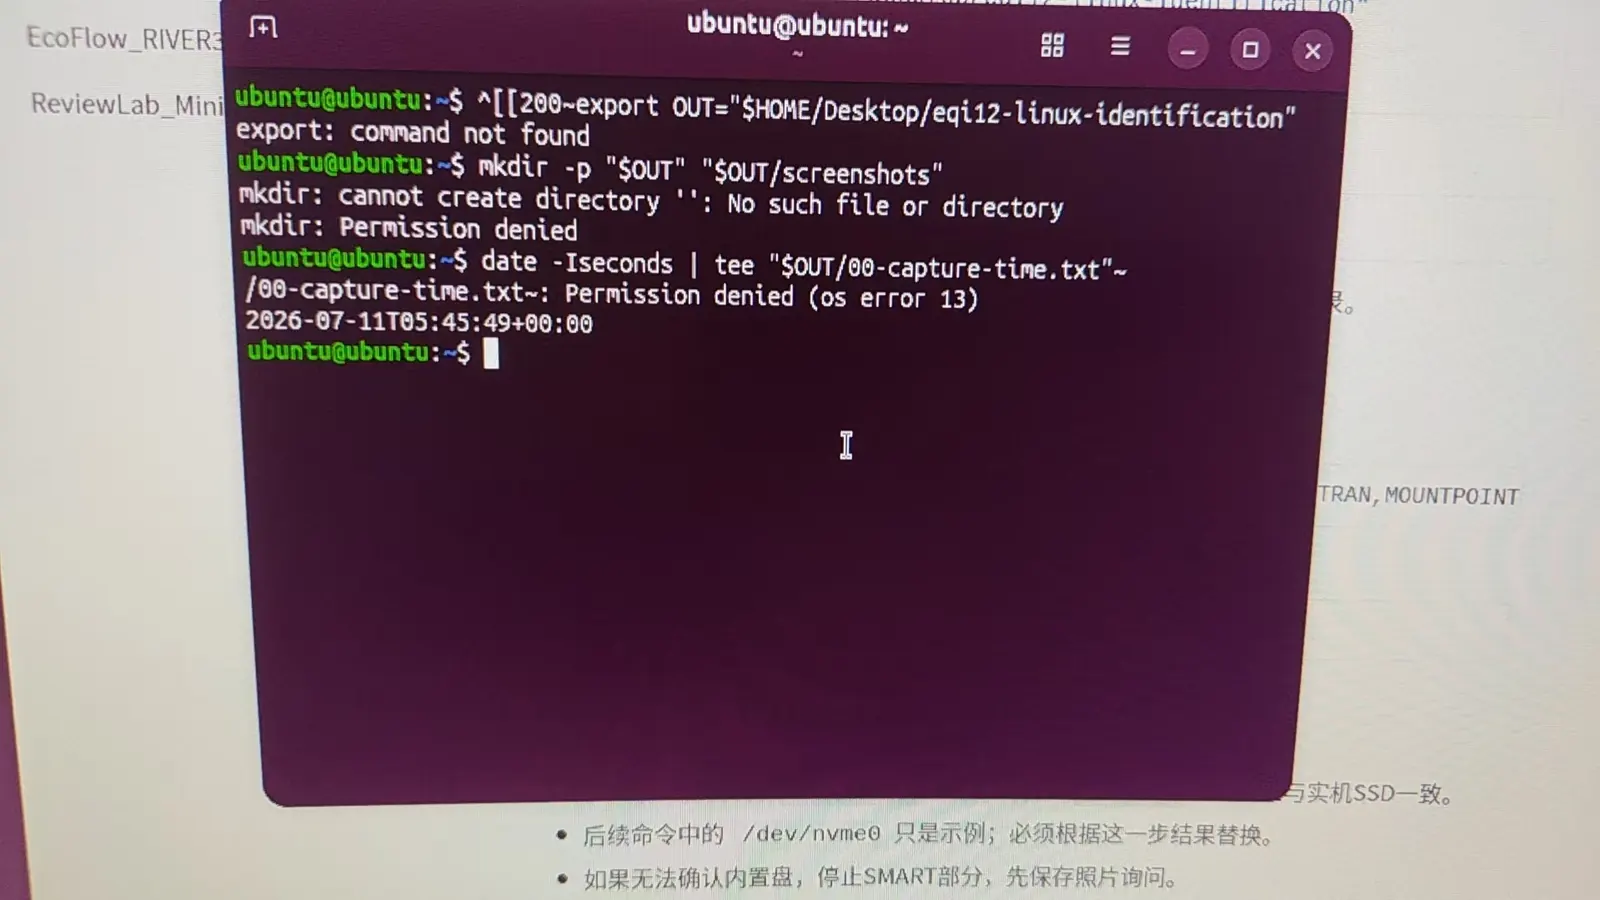
This is a live-session paste handling quirk, not a hardware problem — the same machine handled identical commands fine in the installed system.
8. After install
The installed system is where this EQi12’s Linux story continues: WSL2 is not needed here (that is the Windows path, see the Docker auto-start guide), but the same nginx / PostgreSQL / Redis / Jellyfin stack runs natively under Linux. The measured power consumption and Docker benchmark numbers were captured on the Windows build; re-measuring under Linux is a fair project.
If you are still deciding on the machine itself, the mini PC home server buying guide compares the EQi12 against a NAS, a desktop and an old laptop using the same measured data, and the EQi12 review hub links every report in this product cluster.